How to refurbish the old Black Iron Fuel Tank
Refurbishing the Fuel Tank
Day 4 (2 hours)
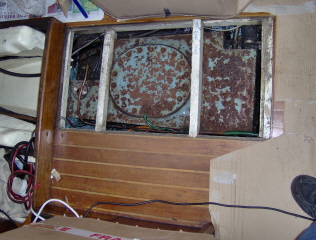
Today I started the process of removing the fuel tank. This is
required as the current tank is showing rust marks on all the visible surfaces
and I have no idea what the state of the underside of the tank is.
The plan is to drain the tank into some jerry cans, then disconnect all of the
pipes and gauges attached to it, remove the tank and refurbish it. I plan to
have the tank sandblasted then powder coated. This should give me at least 5,
maybe 10 years of comfort factor.
First the batons holding the tank down just needed to be lifted out
I had expected this to be difficult and was disappointed to see the batons were not secured down in any way. I will screw them in when I replace the tank
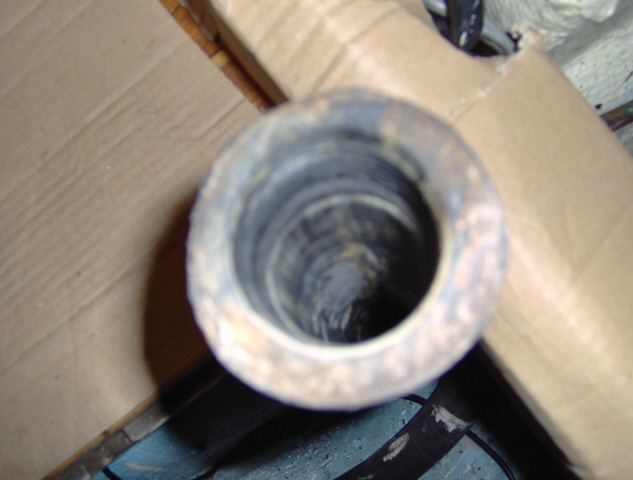
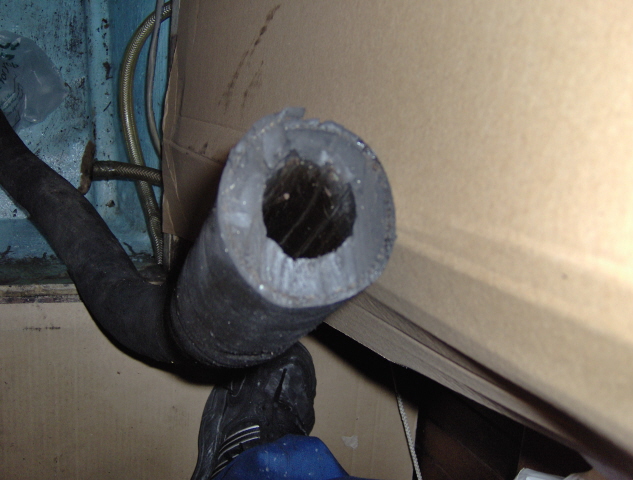
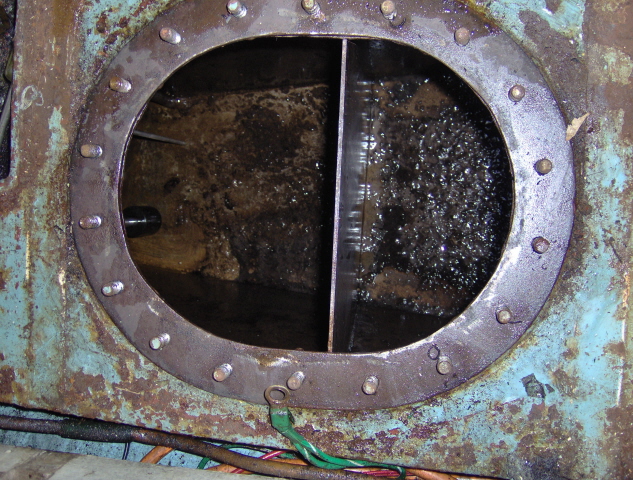
After draining the tank I was disappointed to see a lot of sludge in the tank. On closer inspection it appears to be a bacteria growing in the fuel. This is not uncommon but needs to be treated. Also the fuel I removed will contain the bug and will have to be treated.

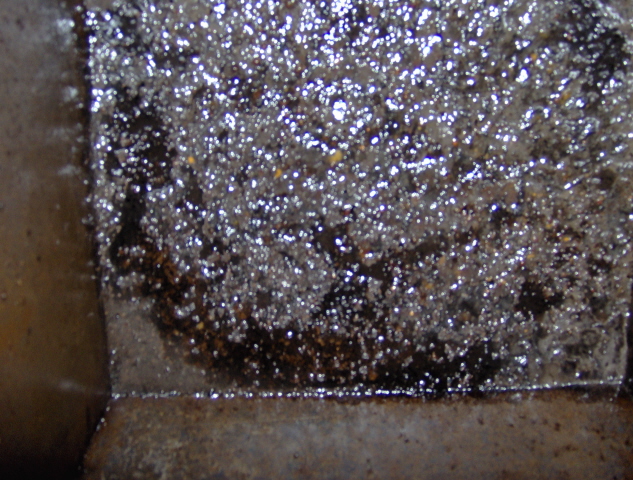
A close up view of the bacteria, this tank was spotless 3 years earlier. I have no idea when this arrived, but I presume it was not there Mid-Atlantic or the tossing around we had must have meant this would get into the fuel line!
I think the camera Flash has created a strange effect here.
Day 5 (7 hours)
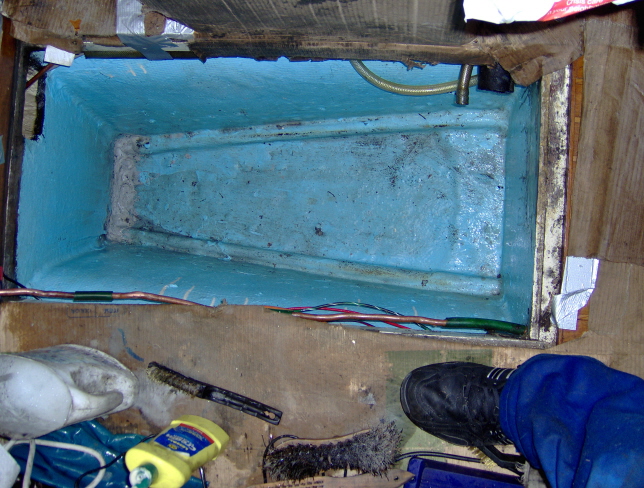
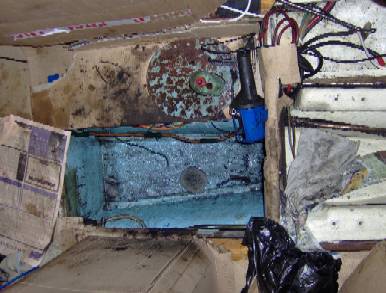
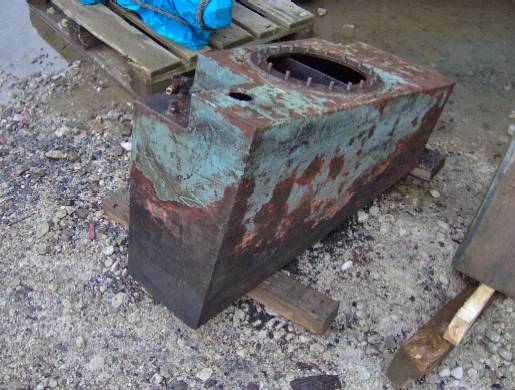
Well I removed the tank today, what a mess I found, the bacterial sludge was under and around the outside of the tank
It was quite difficult keeping the sludge off the teak.
I managed to manhandle the tank out of the boat with the help of a block and tackle around the boom
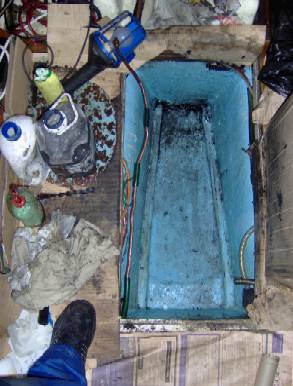
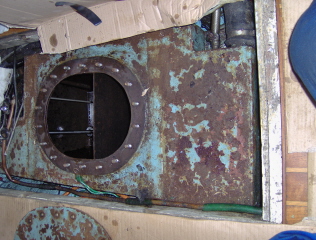
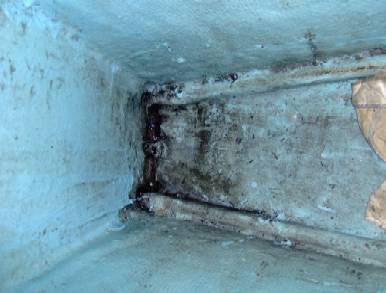
This left a very dirty bilge compartment to clean, this took a few hours to see the blue again
Below you can see the limber hole in the middle of the bulkhead
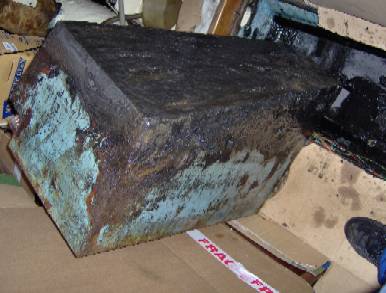
This is what the tank looked like after i scraped most of the goo off
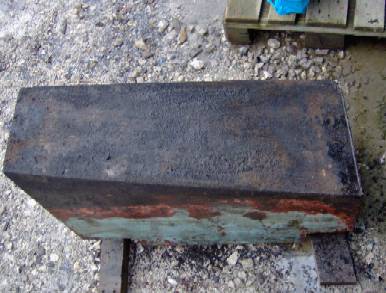
From the top, not so bad
Day 6
Today I took the tank to be sandblasted and powder coated, assuming their is enough metal left after the blasting.
Day 9
|
|
|
|||||||||
|
|
|
|
|||||||||
Day 1003
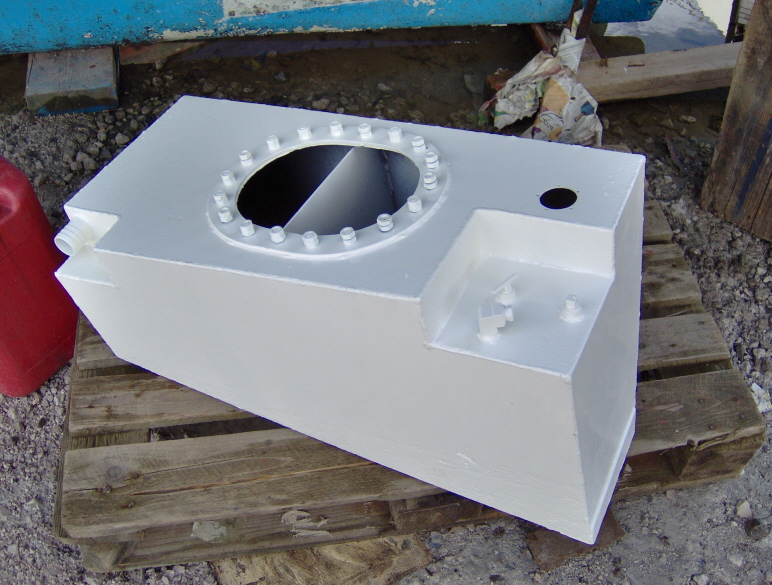
Yesterday I picked up the tank from the sand blasters, they had blasted, welded and coated all for under £100 which I was very pleased with.
The tank had suffered from rust but new metal had been welded to the bottom forward edge so it should be good for many years to come, assuming it is kept dry. I plan to make inspection of the bund a regular item on the Baba checklist.
So here are a couple of pictures of the coated tank, click on them for a bigger version.
|
|
|||